
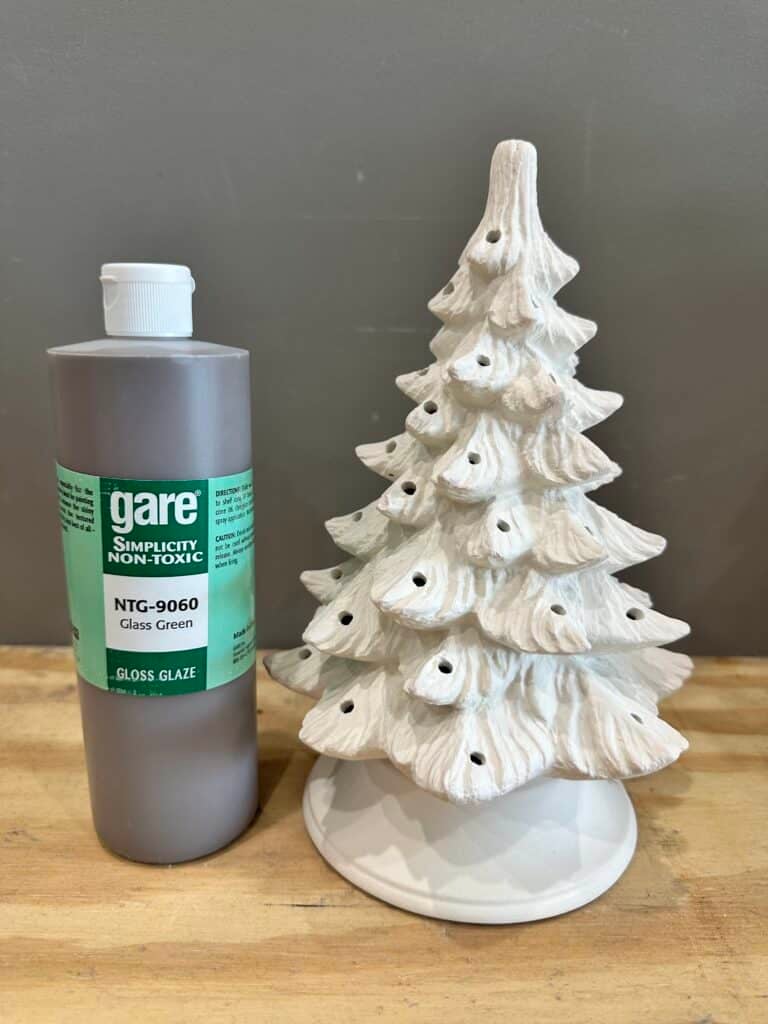
Want that classic, shiny vintage Christmas tree look? Glass Green glaze is the secret! It naturally settles into all the little crevices and pulls away from the tips of the branches, creating beautiful depth, dimension, and those gorgeous highlights without a lot of extra work. It’s an easy way to get that timeless Christmas tree look we all love!
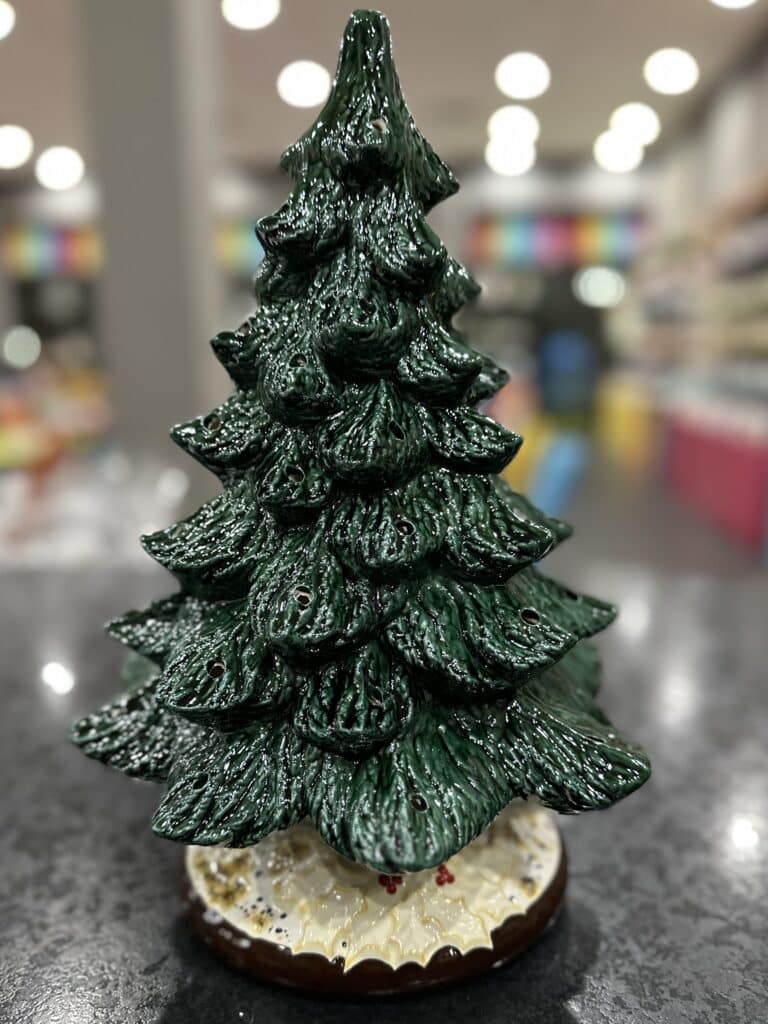
STEPS TO GET THAT VINTAGE LOOK
STEP 1: Understand the glaze
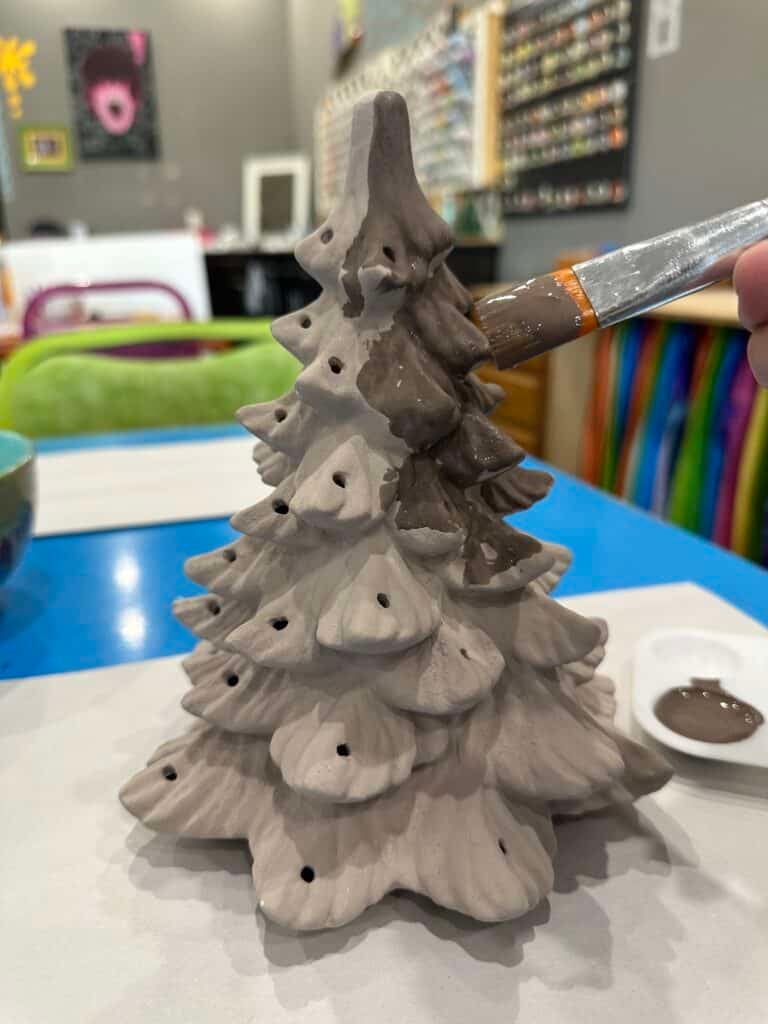
Glass Green looks brownish or muddy when brushed on wet, which is totally normal. It transforms into a rich, variegated green during the kiln firing.
STEP 2: Use the right brush
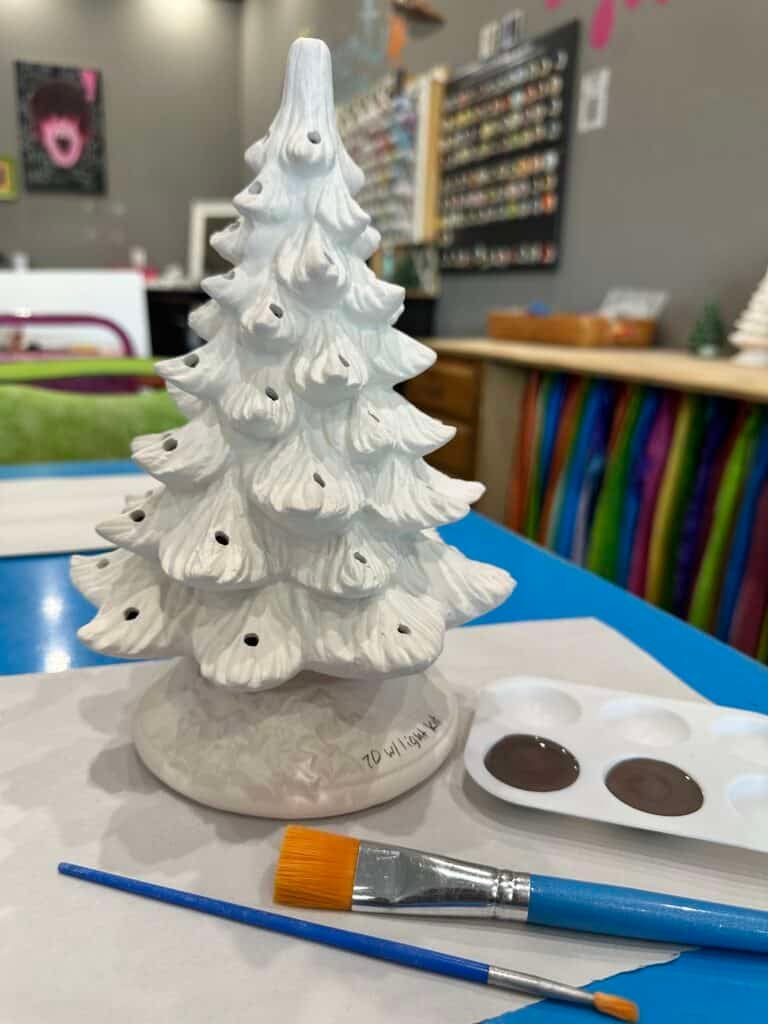
Load up a large brush, which holds plenty of liquid and pushes the specialty glaze smoothly into all the tiny needle crevices on the branches.
STEP 3: Apply glaze to the tree
Paint two thick coats all over the tops of the tree branches. Start at the very top and work your way around each layer in order to keep track of where you have already applied the glaze. Let each coat dry completely (until the color looks uniform and chalky-dry) before adding the next one. Paint one thick coat on the underneath portions of the tree branches.
STEP 4: Clear the light holes
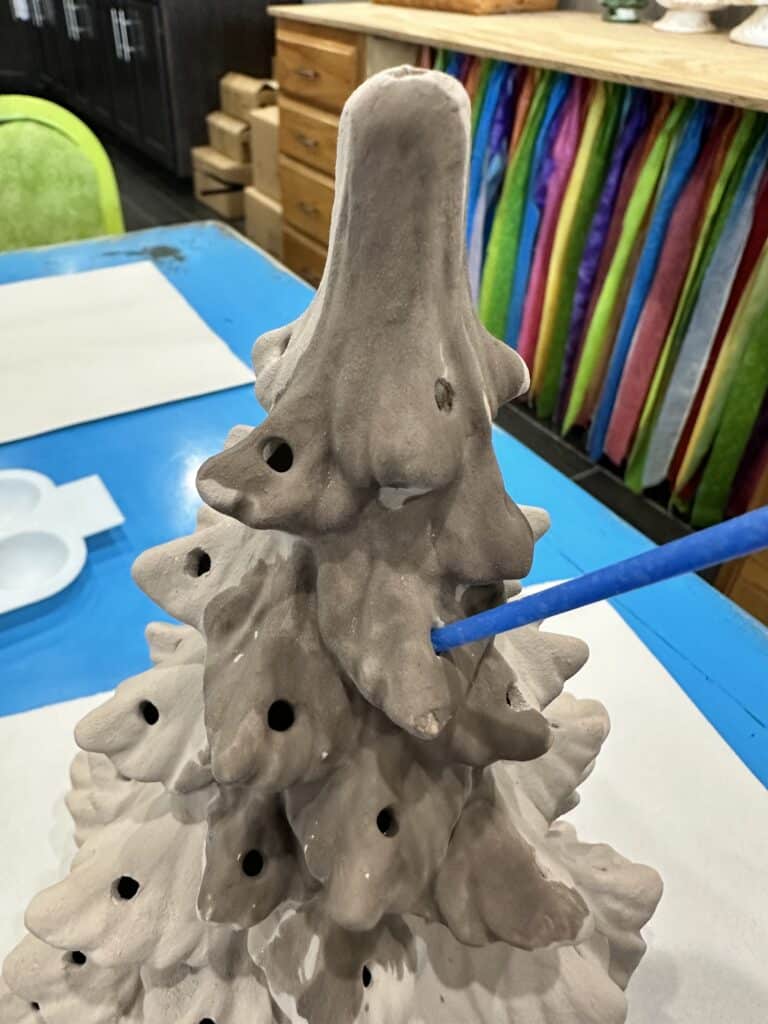
Periodically check the pin light holes as you paint. Use the end of a small paint brush to clear out any blocked holes so your plastic bulbs will fit easily on your tree later.
STEP 5: Painting the base of your tree
Choose from the selection of underglazes to personalize your tree base. Do not use the tree glaze on the base as it will not fire properly.
Ready to paint your very own tree? Follow the steps above to get the best results and that beautiful glossy finish after firing. Or take a minute to watch this helpful tutorial that demonstrates how to paint a Granny Tree using Gloss Green tree glaze.
